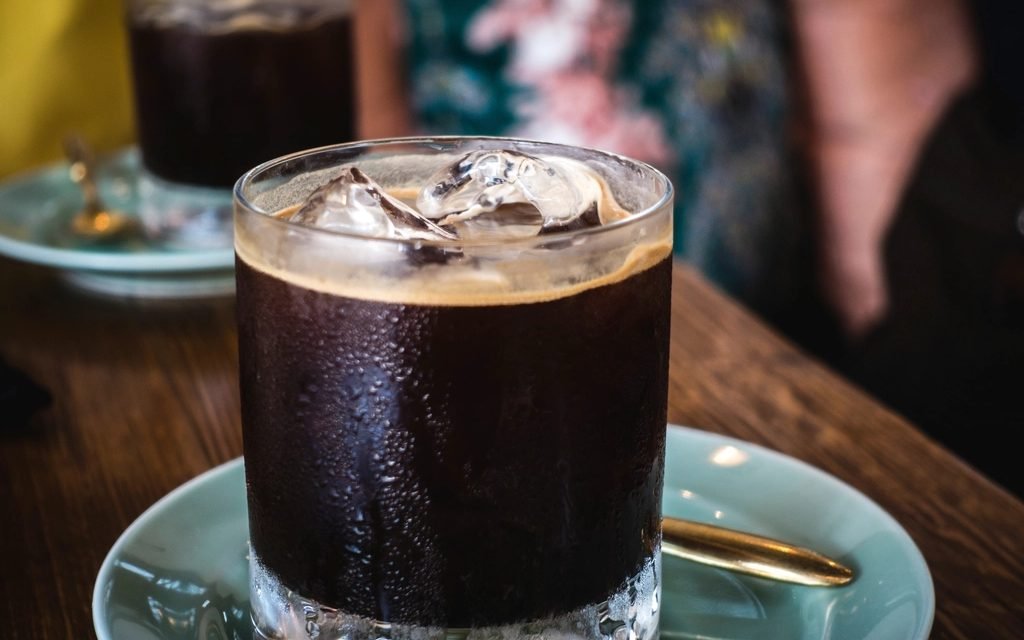
A cold brew from a café is a pleasant treat and an expensive habit if it becomes a daily one. The good news is that cold brew is one of the easiest coffee drinks to make at home. You need no machine, no barista skills and very little active time, because most of the work is simply waiting while the coffee steeps.
This guide explains why cold brew became so popular, then gives you a starting ratio, a step-by-step method, storage times and a cost comparison with clearly stated assumptions. Treat the ratio as a starting point and adjust it to your taste after the first batch.
Why cold brew caught on
Cold brew is made by soaking coarsely ground coffee in cold or room-temperature water for many hours, then straining it. Hot water pulls flavor out of coffee in minutes, while cold water works slowly and extracts it differently. Many people find the result smoother, rounder and less bitter than hot coffee poured over ice, which is how traditional iced coffee is usually made.
Cafés helped turn it into a mainstream drink, and it suits the way many people live now. A batch made on the weekend can sit in the fridge as a concentrate, ready to pour over ice in seconds on a busy morning. It also takes well to milk, plant-based milks and flavors, so it works for black-coffee drinkers and latte lovers alike.
What you need
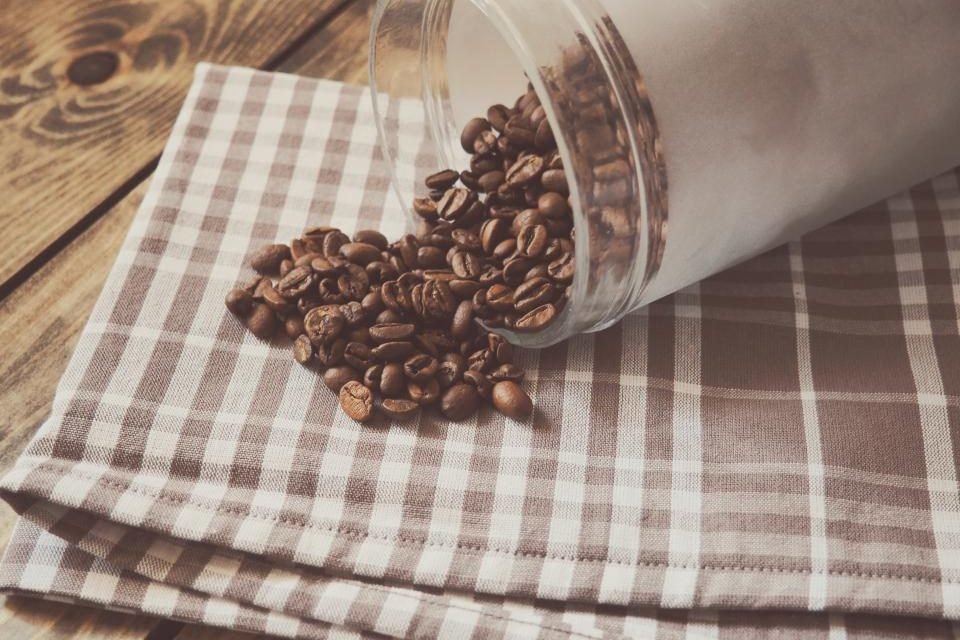
- Coffee, coarsely ground. Any beans you enjoy. Ask the shop to grind them for a French press or cold brew, or use a burr grinder on a coarse setting.
- Cold water. Filtered water helps if your tap water has a strong taste.
- A large jar, pitcher or French press. A French press makes the first straining step easiest.
- Something to strain with. A fine sieve plus a paper coffee filter, cheesecloth or a nut-milk bag.
- A clean bottle or jar with a lid for storing the finished brew in the fridge.
Dedicated cold brew makers exist, but they are optional. A jar and a sieve you already own do the same job, which keeps the cost close to the price of the coffee itself.
The ratio and method
Ratios are easiest to follow by weight. For a concentrate that you dilute later, a common starting point is 1 part coffee to 5 parts water. For example, use 100 g of coarsely ground coffee, roughly 1 1/4 cups depending on the grind, with 500 ml (about 2 cups) of cold water. If you would rather make a ready-to-drink brew, use more water, around 1 part coffee to 8 parts water, and skip the dilution.
- Put the ground coffee in your jar, pour in the water and stir gently until all the grounds are wet.
- Cover and steep for 12 to 18 hours at room temperature, or up to about 24 hours in the fridge. Steeping in the fridge is slower but a cautious choice in a warm kitchen.
- Strain through a sieve to remove most of the grounds, then strain again through a paper filter or cloth for a clearer brew. Do not squeeze the grounds, as that can make the coffee bitter and cloudy.
- Pour the concentrate into a clean bottle or jar, seal it and refrigerate.
- To serve, mix the concentrate with an equal amount of cold water or milk and pour it over ice. Adjust the mix until it tastes right to you.
Your first batch tells you which way to adjust. If it tastes weak or thin, use more coffee or steep for longer next time. If it tastes harsh or bitter, try a coarser grind or a shorter steep. Change one thing at a time so you can tell what made the difference.
How long it keeps
Stored in a sealed container in the fridge, undiluted cold brew concentrate is commonly said to keep for up to about two weeks, though most people find it tastes best in the first week. Once you mix it with milk, treat it like any other milky drink and finish it within a day or so. Throw it out if it smells sour or musty, or if you see anything growing on the surface.
Clean equipment matters as much as the clock, so wash jars, bottles and filters thoroughly between batches. For an iced coffee that does not turn watery, freeze some cold brew in an ice cube tray and use those cubes instead of regular ice.
Cold brew concentrate can be strong, and its caffeine content varies with the beans and the ratio, so it is easy to drink more than you intended. Dilute it well, and if you are pregnant, sensitive to caffeine or have a health condition, check with a doctor about how much is right for you.
What it costs compared with a café
Here is a worked example with assumed prices, so swap in your own. Say a 1 lb (450 g) bag of coffee costs $12 and a cold brew at your local café costs $5. Coffee grounds hold back roughly twice their weight in water, so a batch of 100 g of coffee and 500 ml of water gives you about 300 ml of concentrate. Diluted half-and-half, that makes three generous glasses.
The 100 g of coffee costs about $2.67, so each glass uses about 90 cents of coffee. Add an assumed 20 cents of milk and you are at around $1.10 per glass. If you replace a five-day café habit for 48 working weeks, that is 240 drinks: about $1,200 at the café against roughly $265 at home, a difference of more than $900 over the year.
Two caveats keep this honest. Cold brew uses more coffee per glass than hot coffee brewed at home, so if your alternative is a mug of drip coffee rather than a café drink, the saving shrinks or disappears. And the saving only counts if the money stays in your pocket. If you are trying to cut back on small daily spending more generally, our no-spend month plan shows how to make that stick.
Fit it into your week
Cold brew works best as a routine rather than a project. Start a batch on Sunday afternoon and it is ready by Monday morning, which pairs well with our beginner’s meal prep plan if you already cook ahead on weekends. One batch from the recipe above covers about three days, so double it for a full workweek if you have room in the fridge.
Quick checklist
- Grind coarse and start with 1 part coffee to 5 parts water by weight.
- Steep for 12 to 18 hours at room temperature, or up to about 24 hours in the fridge.
- Strain twice, without squeezing the grounds.
- Store the concentrate sealed in the fridge and use it within about two weeks, ideally the first.
- Dilute about half-and-half with water or milk, and adjust to taste.
A jar, a sieve and some patience are all it takes to enjoy a café favorite for a fraction of the price. Start your first batch this weekend, adjust the ratio once and you will soon have a version you like. For more food ideas and kitchen guides, visit our food section.